
Blog Overview
The most common Colorbond fence repairs involve fixing leaning panels caused by loose posts or shifting soil, replacing broken sections damaged by impact, and treating rust spots before they spread. Prompt DIY repair or professional intervention is crucial to maintain the fence’s integrity, security, and appearance over time.
Article Discussion Points
- Leaning Panels causes and repair steps.
- Broken Panel removal and replacement.
- Rust Spot identification and treatment.
- Post Stability restoration using concrete.
- Preventive Maintenance tips for longevity.
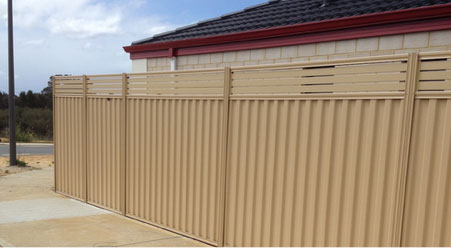
Colorbond fencing is one of the most popular choices for Australian homeowners thanks to its sleek design, durability, and low maintenance requirements. Made from high-quality steel and coated with protective layers, Colorbond fences are built to withstand harsh weather conditions, resist rust, and provide a secure boundary for your property. However, no fence is completely immune to damage. Over time, fences can develop issues such as leaning panels, broken sections, or rust spots. These problems, if left unattended, can compromise your property’s security and aesthetics.
The good news is that many common Colorbond fence issues are repairable with the right approach, tools, and guidance. In this comprehensive guide, we’ll cover the top three most common types of Colorbond fence damage and provide detailed, step-by-step instructions on how to fix them. We’ll also share tips on preventive maintenance to help you extend the life of your fence.
1. Leaning or Tilting Colorbond Fence Panels
A leaning or tilting fence panel is one of the most common issues that homeowners encounter. This problem can occur due to shifting soil, high winds, improper installation, or even minor impacts from pets or garden equipment. If a leaning panel is not addressed promptly, it can place extra stress on surrounding posts and panels, potentially causing further damage.
Signs Your Fence Panel is Leaning
- Panels are visibly angled or sagging.
- Posts wobble when touched.
- Gaps appear between panels or the ground.
- Fence line looks uneven from a distance.
Tools and Materials Needed
- Shovel or post hole digger
- Spirit level
- Gravel
- Concrete mix (optional, for extra stability)
- Hammer, nails, or screws
- Replacement fence post (if necessary)
- Drill and screws
Step-by-Step Repair Guide
Step 1 – Assess the Damage to the Colorbond Fence
Before making any fence repairs, inspect it first to identify the root cause. Check whether the post supporting the panel is loose, damaged, or rotting. Also, determine whether the panel itself is bent or damaged. This assessment will help you decide whether you need to replace the post or simply reinforce it.
Step 2 – Remove the Panel (if necessary)
If the panel is leaning significantly, carefully remove it by unscrewing it from the posts. Set it aside in a safe location to avoid bending or scratching the panel.
Step 3 – Straighten or Replace the Post
- For a loose post
Dig around the base to loosen the soil. Straighten the post using a level to ensure it is perfectly vertical. Fill the hole with gravel for drainage, and pack the soil tightly. For extra support, pour a small amount of concrete around the base and allow it to set for at least 24 hours.
- For a damaged or rotting post
Remove the old post and replace it with a new one of the same size. Ensure it is properly anchored with concrete or gravel to prevent future leaning.
Step 4 – Reattach the Panel
Once the post is secure, reattach the fence panel using screws or nails. Ensure it is aligned correctly with adjacent panels. Use a spirit level to check for vertical and horizontal alignment.
Step 5 – Inspect and Reinforce
After the panel is reinstalled, walk along the fence line to check the alignment of all panels. If needed, make minor adjustments to ensure the fence is straight and secure.
Preventive Tips
- Ensure posts are installed deep enough and properly concreted during installation.
- Check fence panels after heavy storms or strong winds.
- Keep vegetation away from the base of the fence to prevent soil movement.
2. Broken or Damaged Colorbond Panels
Another frequent issue is broken or damaged panels. Panels can be damaged by storms, high winds, impacts from sports equipment, or accidents with machinery or gardening tools. A broken panel compromises both the appearance and security of your fence. Repairing a damaged panel promptly ensures the fence continues to serve its purpose.
Tools and Materials Needed
- Replacement Colorbond panel
- Drill and screws
- Screwdriver
- Rubber mallet
- Measuring tape
- Protective gloves and eyewear
Step-by-Step Repair Guide
Step 1 – Remove the Damaged Panel
- Unscrew the damaged panel from the top and bottom rails.
- Carefully slide it out. If the panel is bent, wear protective gloves to avoid cuts.
Step 2 – Measure the Opening
- Measure the height and width of the opening to ensure the replacement panel fits perfectly.
- Colorbond panels come in standard sizes, but double-checking measurements ensures a neat finish.
Step 3 – Position the New Panel
- Place the replacement panel between the rails.
- Use a rubber mallet to gently tap it into place if needed.
Step 4 – Secure the Panel
- Fasten the panel with screws or bolts at the top and bottom, ensuring it is aligned with adjacent panels.
- Check alignment visually and with a level for a flush, even fit.
Step 5 – Finish and Inspect
- Inspect the panel from different angles to confirm alignment.
- Apply a protective coating or touch-up paint to the edges if necessary to prevent rust.
Preventive Tips
- Avoid hitting the fence with heavy equipment.
- Regularly inspect the fence for small dents or scratches that could worsen over time.
- Reinforce panels in high-wind areas with additional supports if needed.
3. Rust Spots or Corrosion in Colorbond Fence
Even though Colorbond fencing is designed to resist rust, scratches, exposure to moisture, or damage to the protective coating can lead to rust formation. Rust not only looks unsightly but can also weaken the metal if not treated. Repairing rust spots early is crucial to preserving the fence’s longevity.
Tools and Materials Needed
- Sandpaper or wire brush
- Rust converter or primer
- Paintbrush or spray paint
- Colorbond touch-up paint (matching your fence)
- Protective gloves
Step-by-Step Repair Guide
Step 1 – Identify Rust Spots
- Inspect your fence carefully for rust, especially near screws, joints, or areas where panels contact soil or water.
Step 2 – Remove Rust
- Use sandpaper or a wire brush to remove loose rust and paint from the affected area.
- Sand until you reach clean, shiny metal.
Step 3 – Apply Rust Converter or Primer
- Apply a rust converter or primer to the sanded area. This prevents further corrosion and prepares the surface for painting.
Step 4 – Paint the Area
- Apply Colorbond touch-up paint to match the existing fence.
- Use thin, even coats and allow each coat to dry before applying the next.
Step 5 – Inspect and Maintain
- Once dry, inspect the area to ensure uniform coverage.
- Regularly check for rust spots, particularly after wet weather.
Preventive Tips
- Avoid letting plants or debris rest against the fence for prolonged periods.
- Inspect fences annually for small scratches or nicks that could lead to rust.
- Apply touch-up paint promptly after drilling or making repairs.
Additional Tips for Maintaining Your Colorbond Fence
While repairing issues is important, preventive maintenance is equally crucial for ensuring your fence remains in top condition for years. Here are some essential maintenance tips:
- Regular Inspections – Check your fence twice a year for leaning posts, loose panels, and rust.
- Clear Debris – Remove leaves, branches, and other debris that can trap moisture.
- Trim Vegetation – Keep trees and bushes away from the fence to prevent scratches and pressure on panels.
- Protective Coating – Apply touch-up paint or a protective coating on scratches or exposed areas.
- Proper Drainage – Ensure posts are installed with drainage in mind to prevent soil movement and post rot.
- Weather Considerations – Inspect your fence after storms, heavy winds, or flooding.
Frequently Asked Questions (FAQ)
What are the top 3 most common Colorbond fence repairs?
The most common repairs are fixing leaning or tilting panels, replacing broken or damaged panels, and treating rust spots or corrosion.
What causes a Colorbond fence panel to lean?
A panel usually leans due to loose or unstable posts caused by shifting soil, strong winds, improper installation, or minor impacts.
How do I repair a small rust spot on my Colorbond fence?
Repair small rust spots by sanding the area down to the clean metal, applying a rust converter or primer, and finishing with matching Colorbond touch-up paint.
How do you replace a broken Colorbond fence panel?
To replace a panel, unscrew the damaged section from the top and bottom rails, measure the opening, slide the new panel into place, and secure it with screws.
When should I use concrete when repairing a leaning post?
You should use concrete to secure a loose post when extra stability is required, ensuring it cures for at least 24 hours to prevent future leaning or movement.
Final Thoughts
Colorbond fences are built to last, but even the strongest fences require attention over time. Whether your fence is leaning, has a broken panel, or shows rust, repairing these issues promptly preserves the security and appearance of your property.
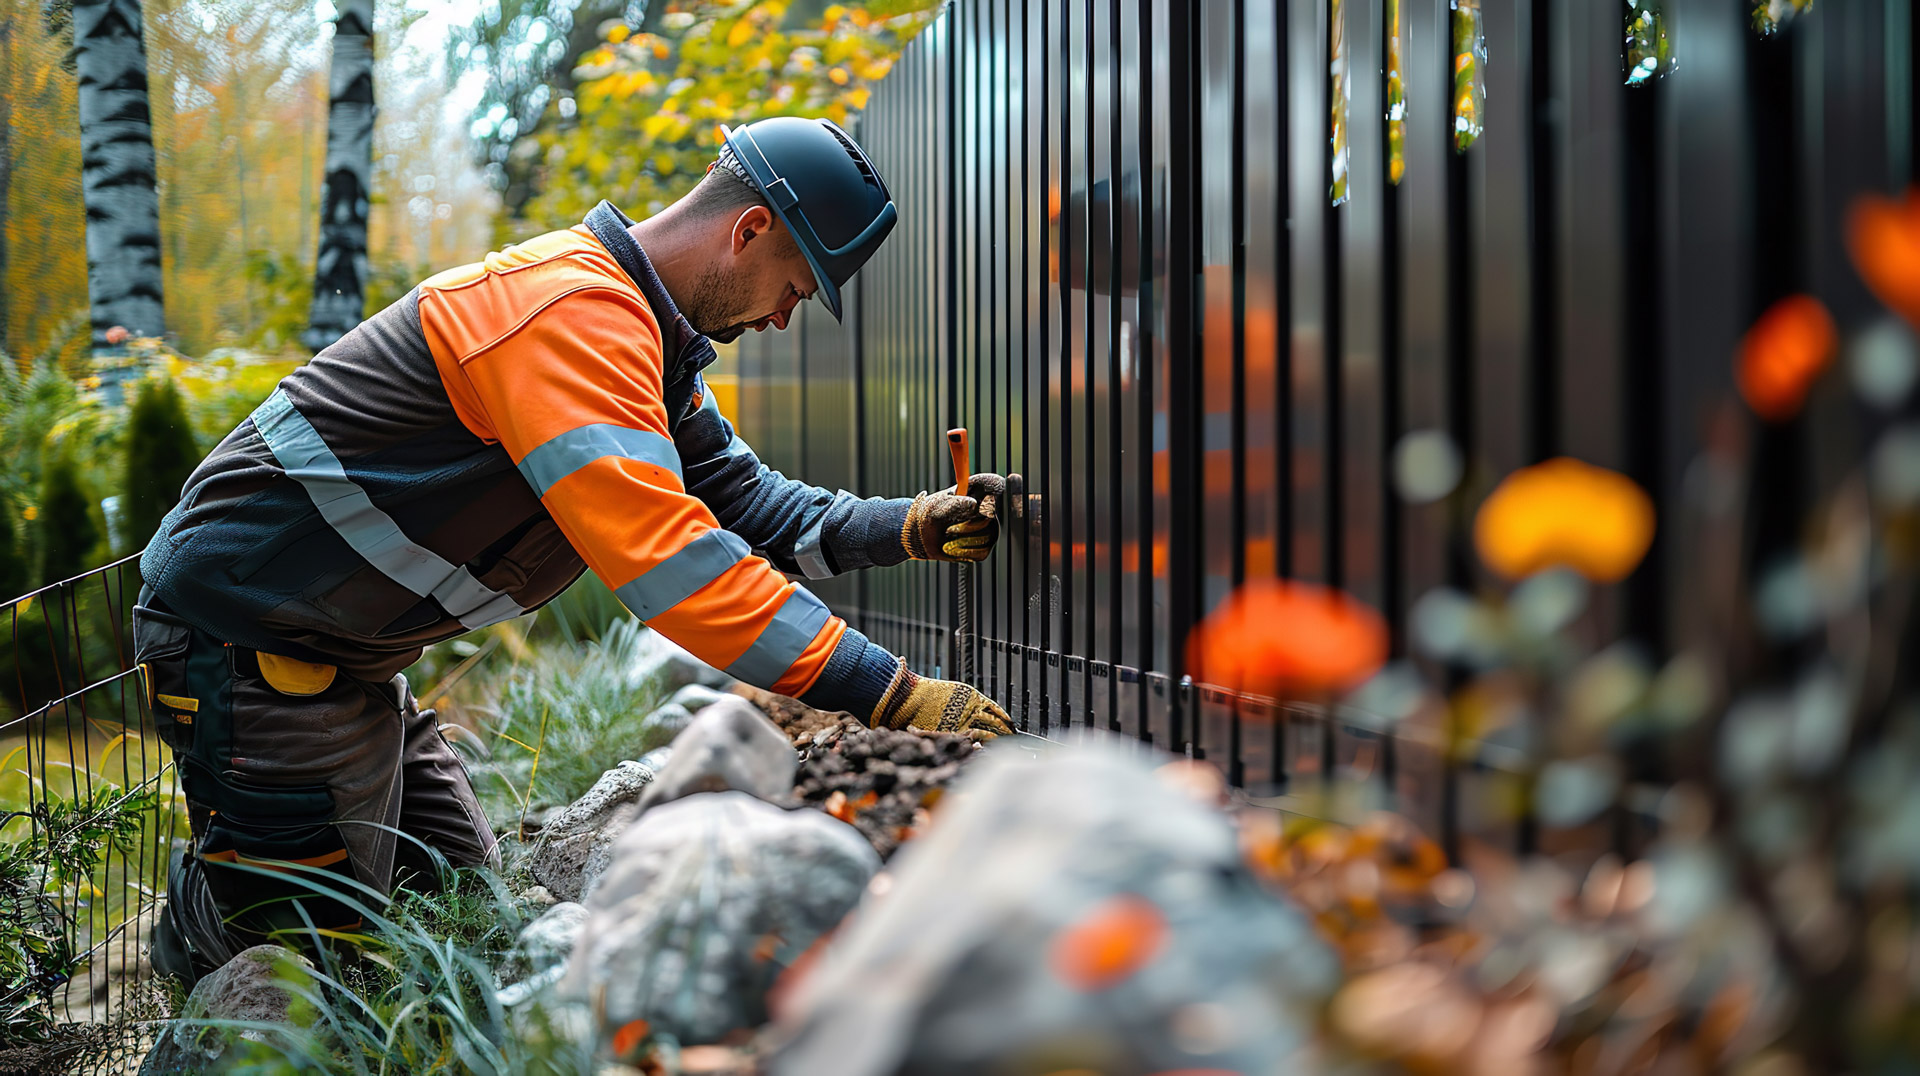
If DIY repairs seem daunting or you want a professional finish, Jim’s Fencing offers expert repair and installation services across Australia. Our team can handle everything from minor touch-ups to complete fence replacements, ensuring your Colorbond fence remains strong, secure, and visually appealing.
With Jim’s Fencing AU, you can enjoy peace of mind knowing your fence is built and maintained to the highest standards. Contact us today to schedule a repair or installation service.
If you found this article helpful, you may also be interested in:
- Can You Paint Colorbond?
- What Should You Know About Colorbond Fence Installation?
- Colorbond Fence Styles
- How Can You Maintain Your Colorbond Fencing to Keep It Looking Like New?
- How Do You Find the Best Colorbond Fencing Services Near Me?
- COLORBOND® steel Backyard Makeover Winner – Tasmania
- What Are the Best Colorbond Fence Screening Ideas for Aussie Homes?
- How Do You Paint and Clean a Colorbond Fence?
- How Do You Choose and Buy the Right Colorbond Fence?